Bambu Labs X1C / P1S Custom Chamber Heater - PREBUILT - 3D Printing Tools
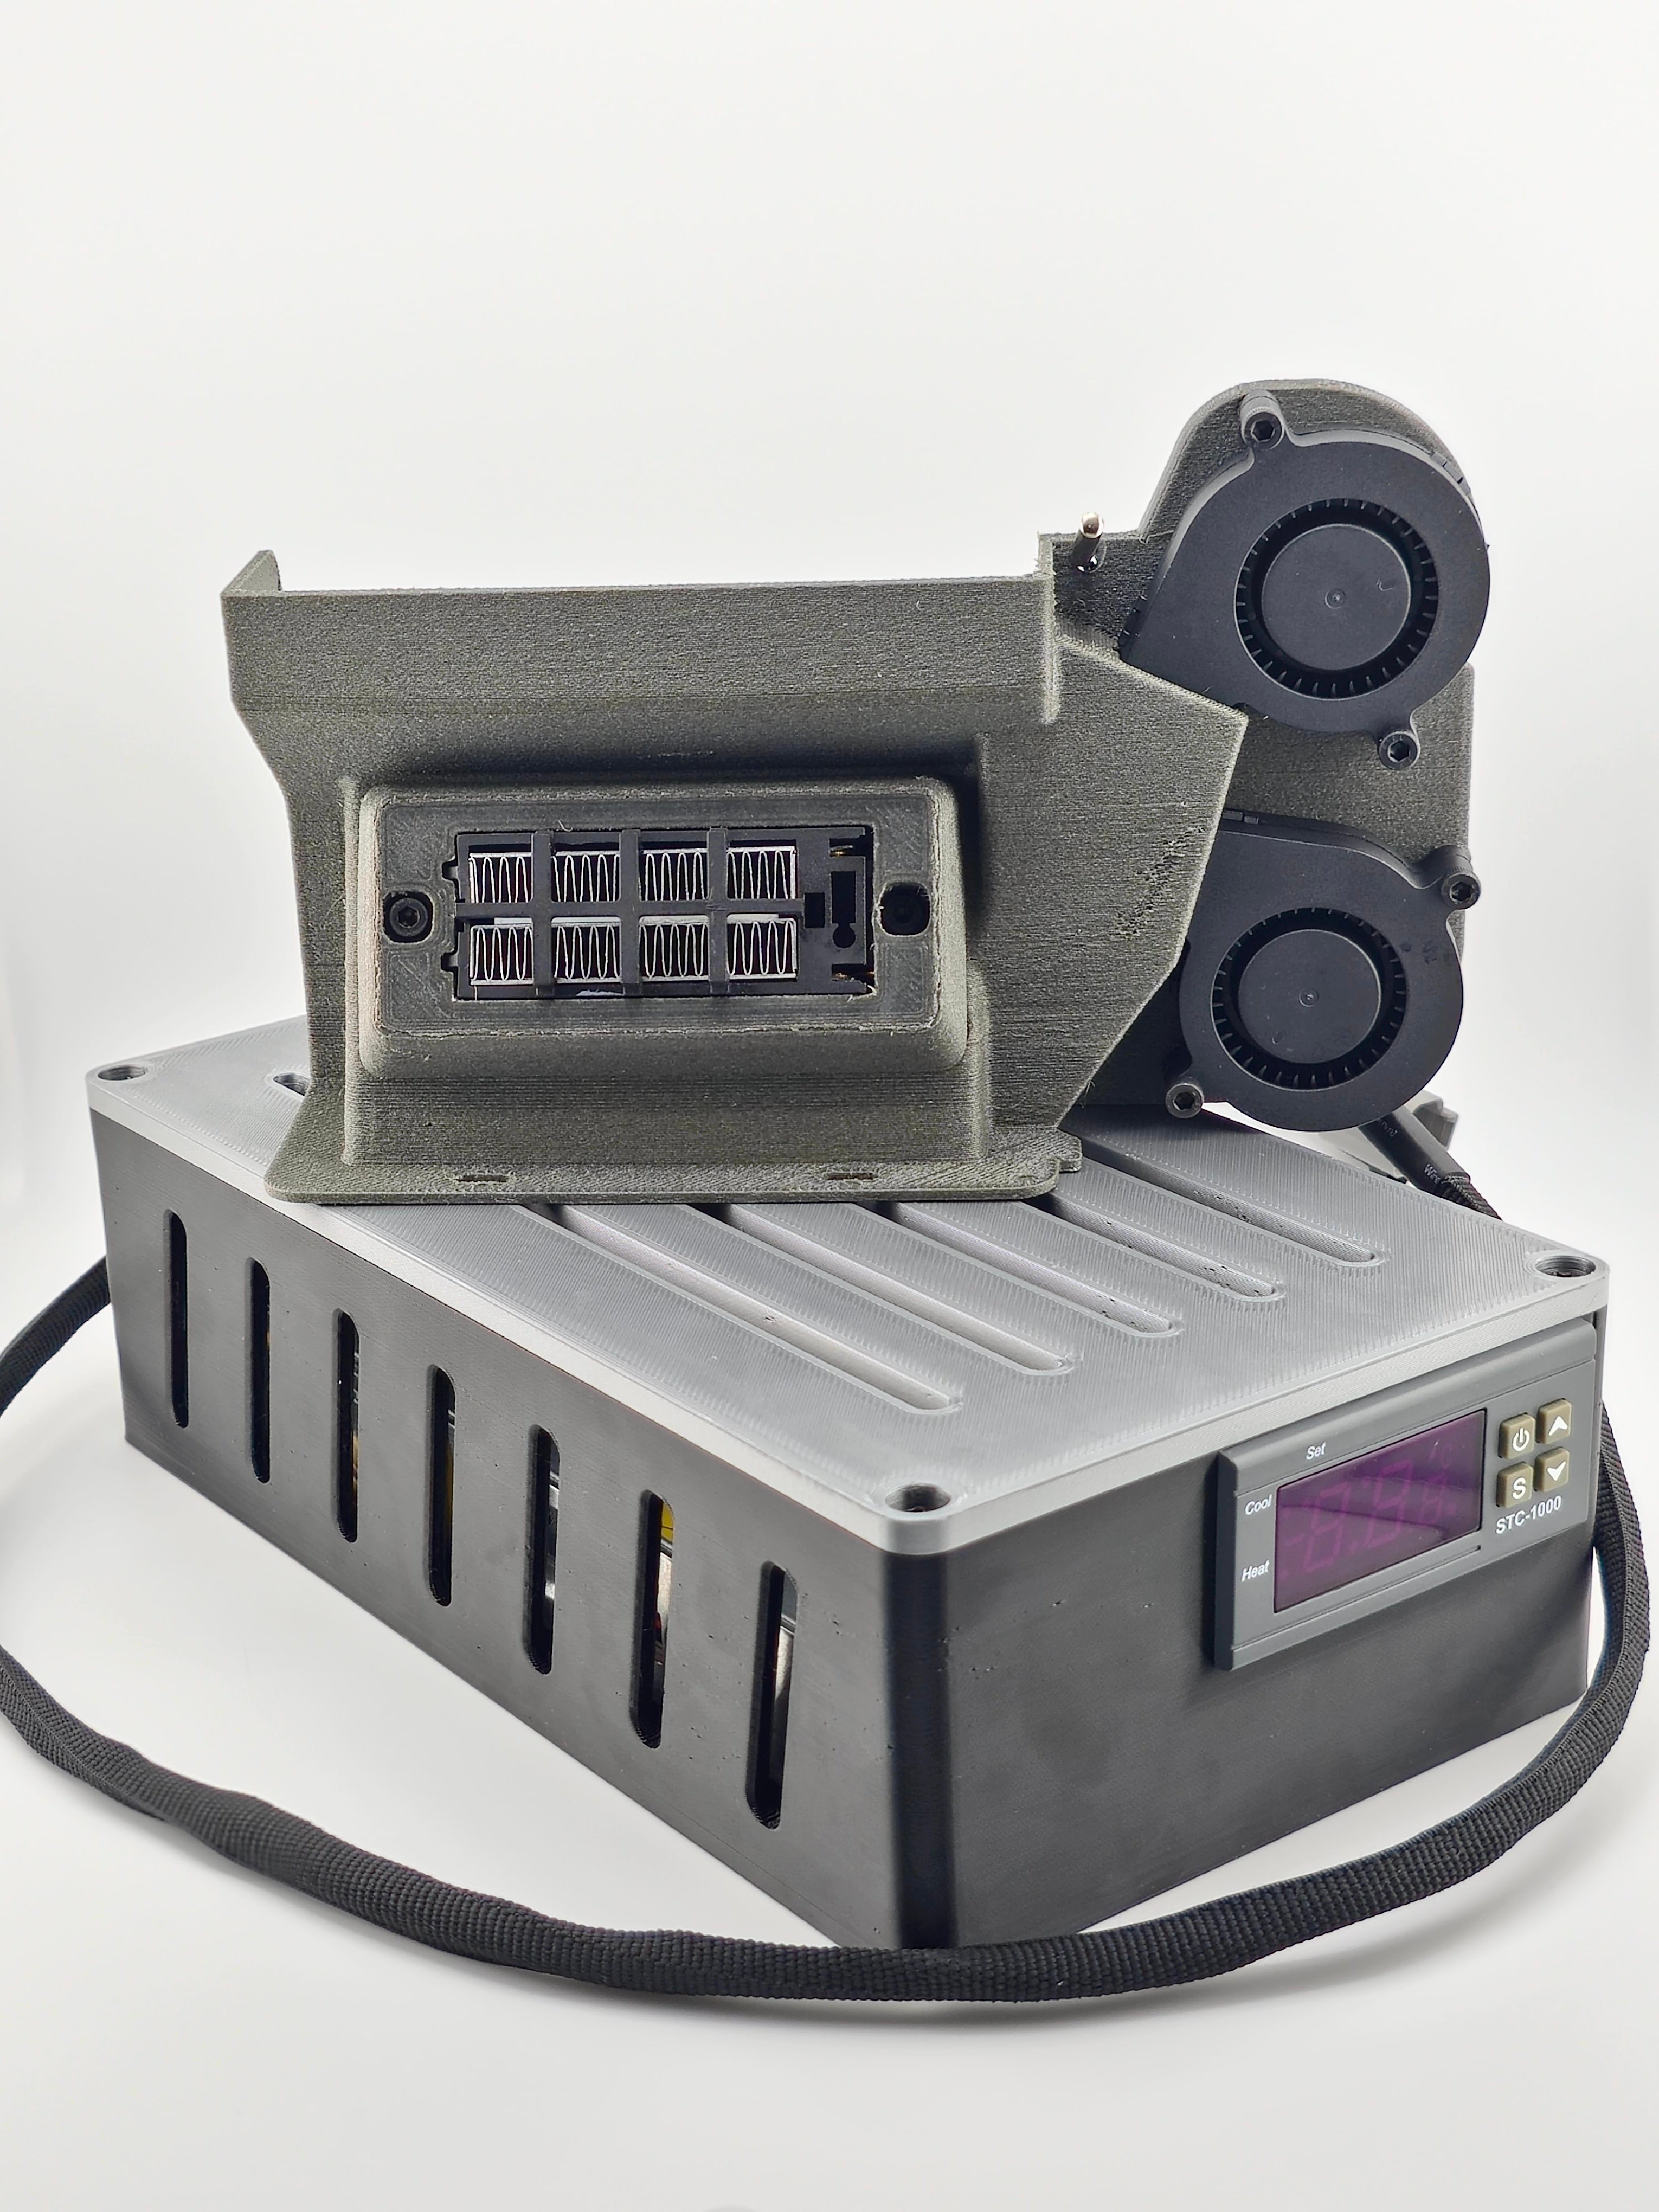
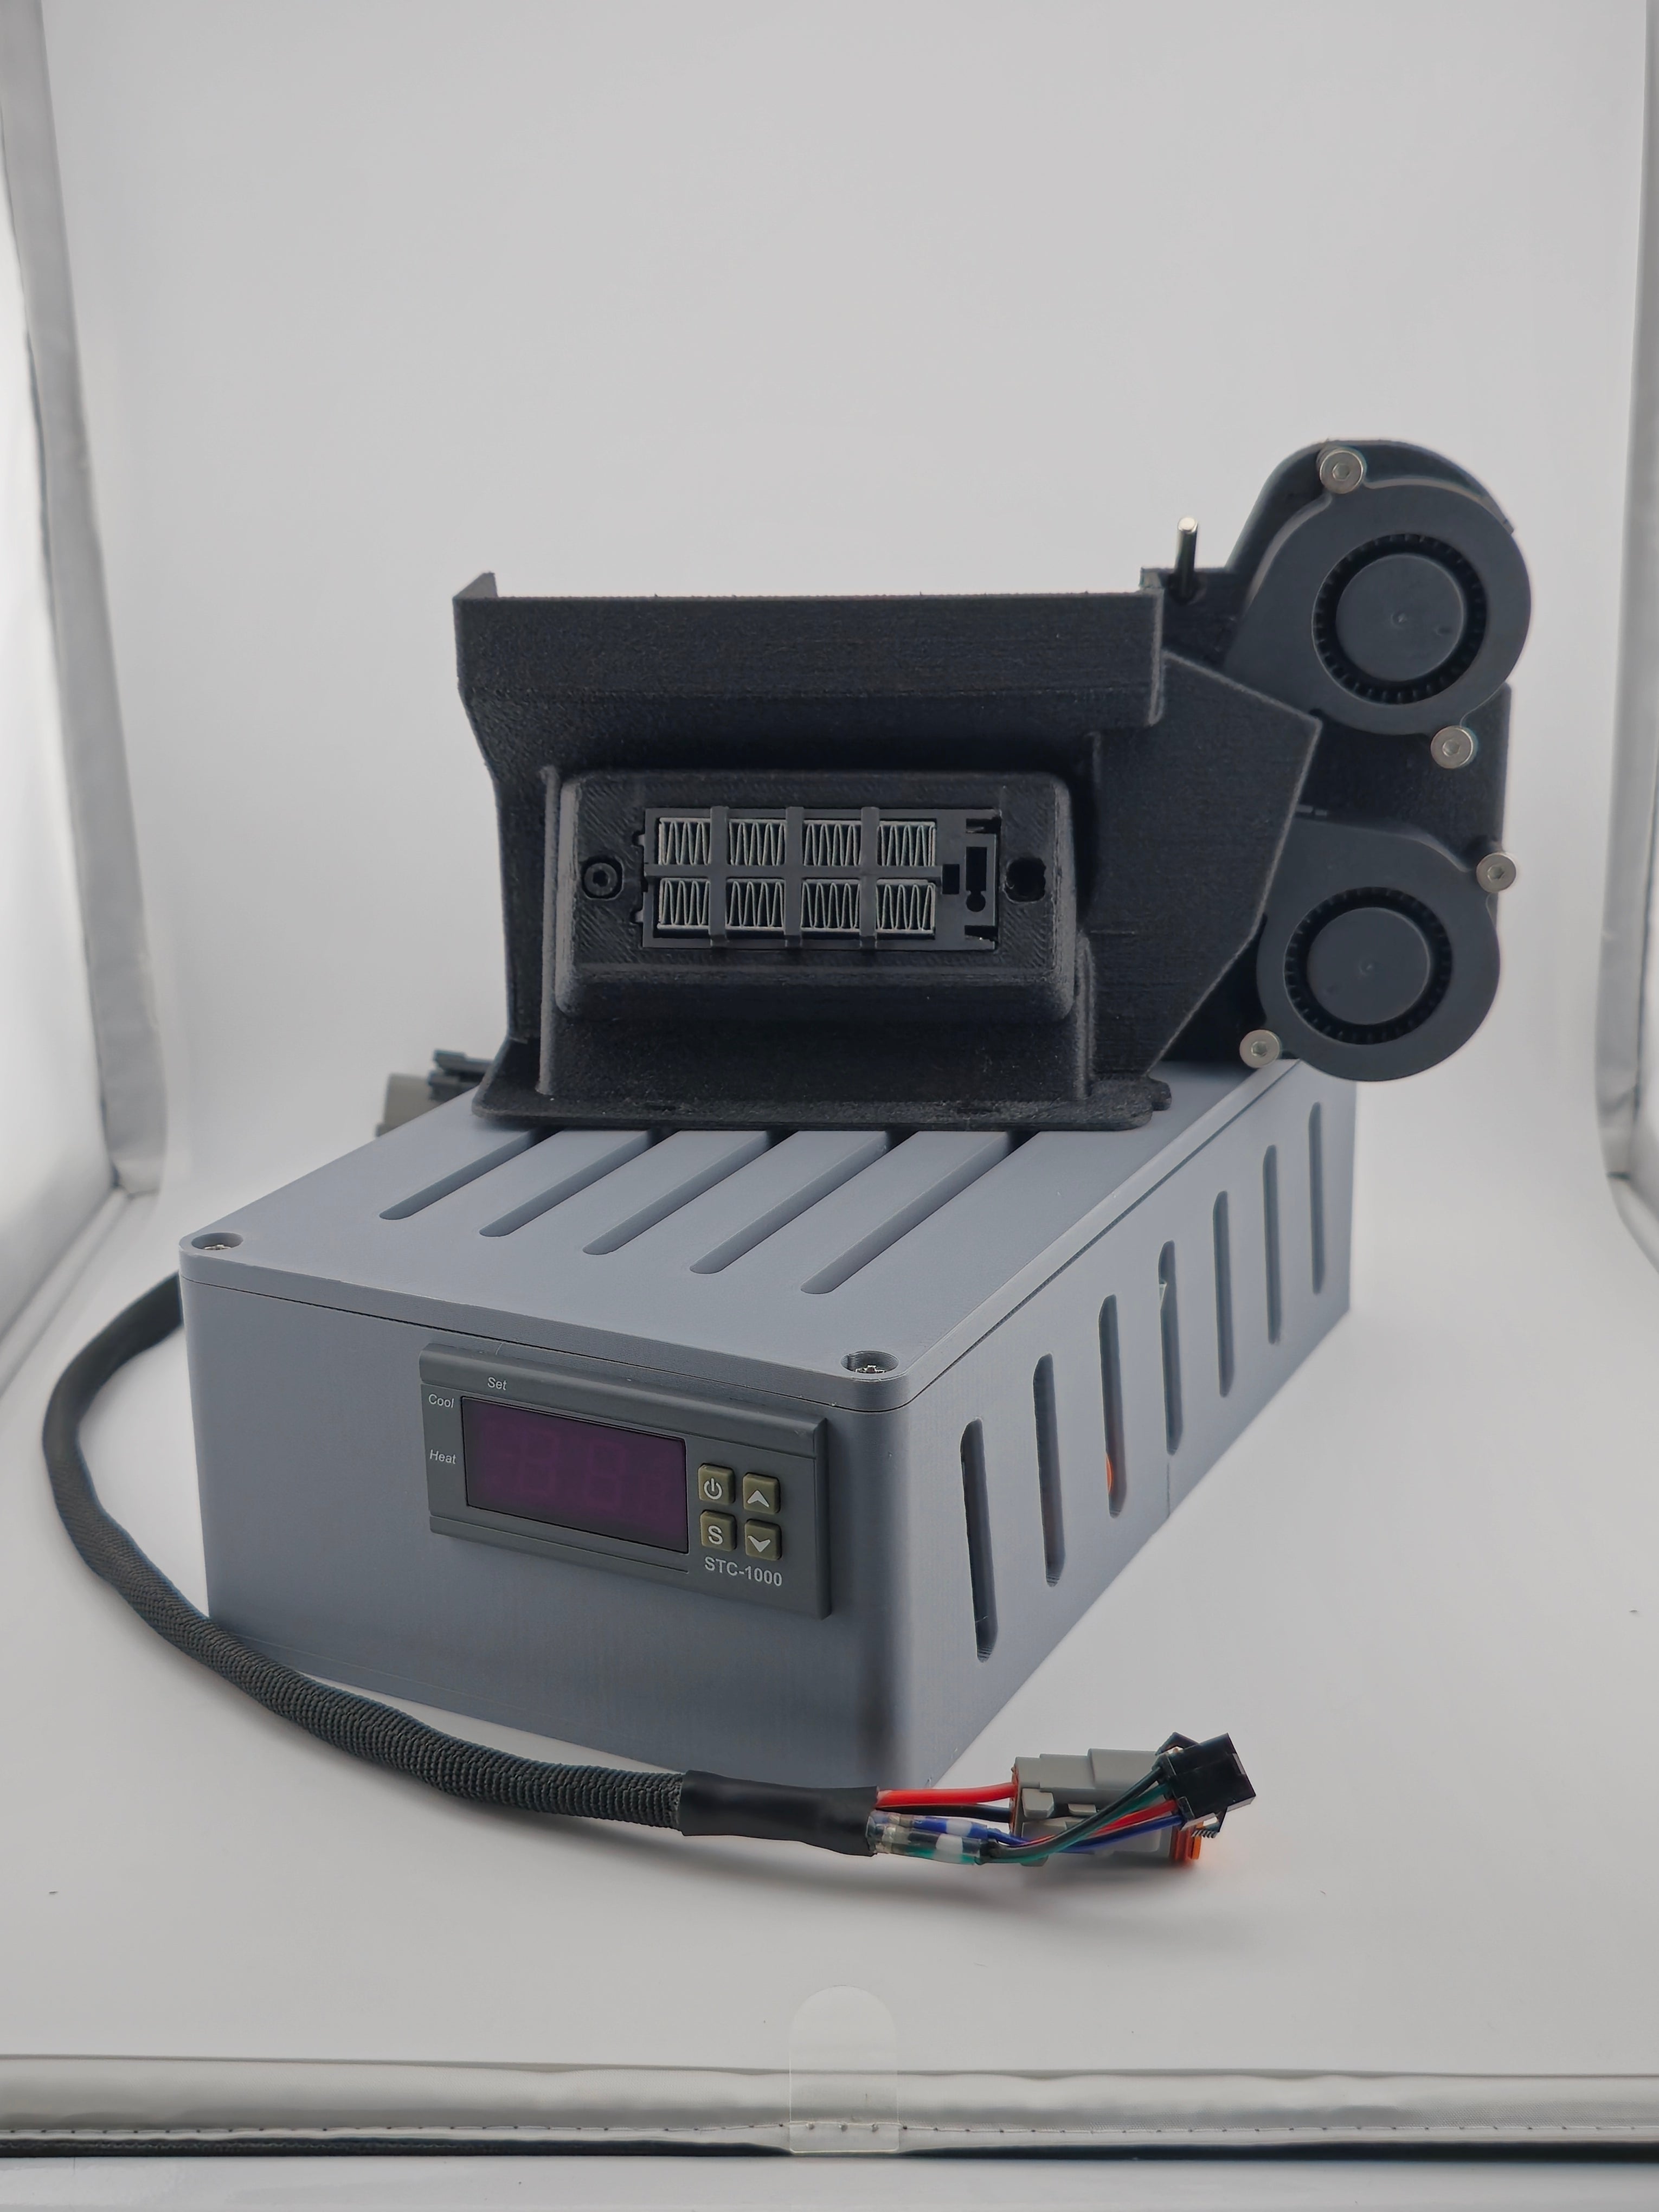
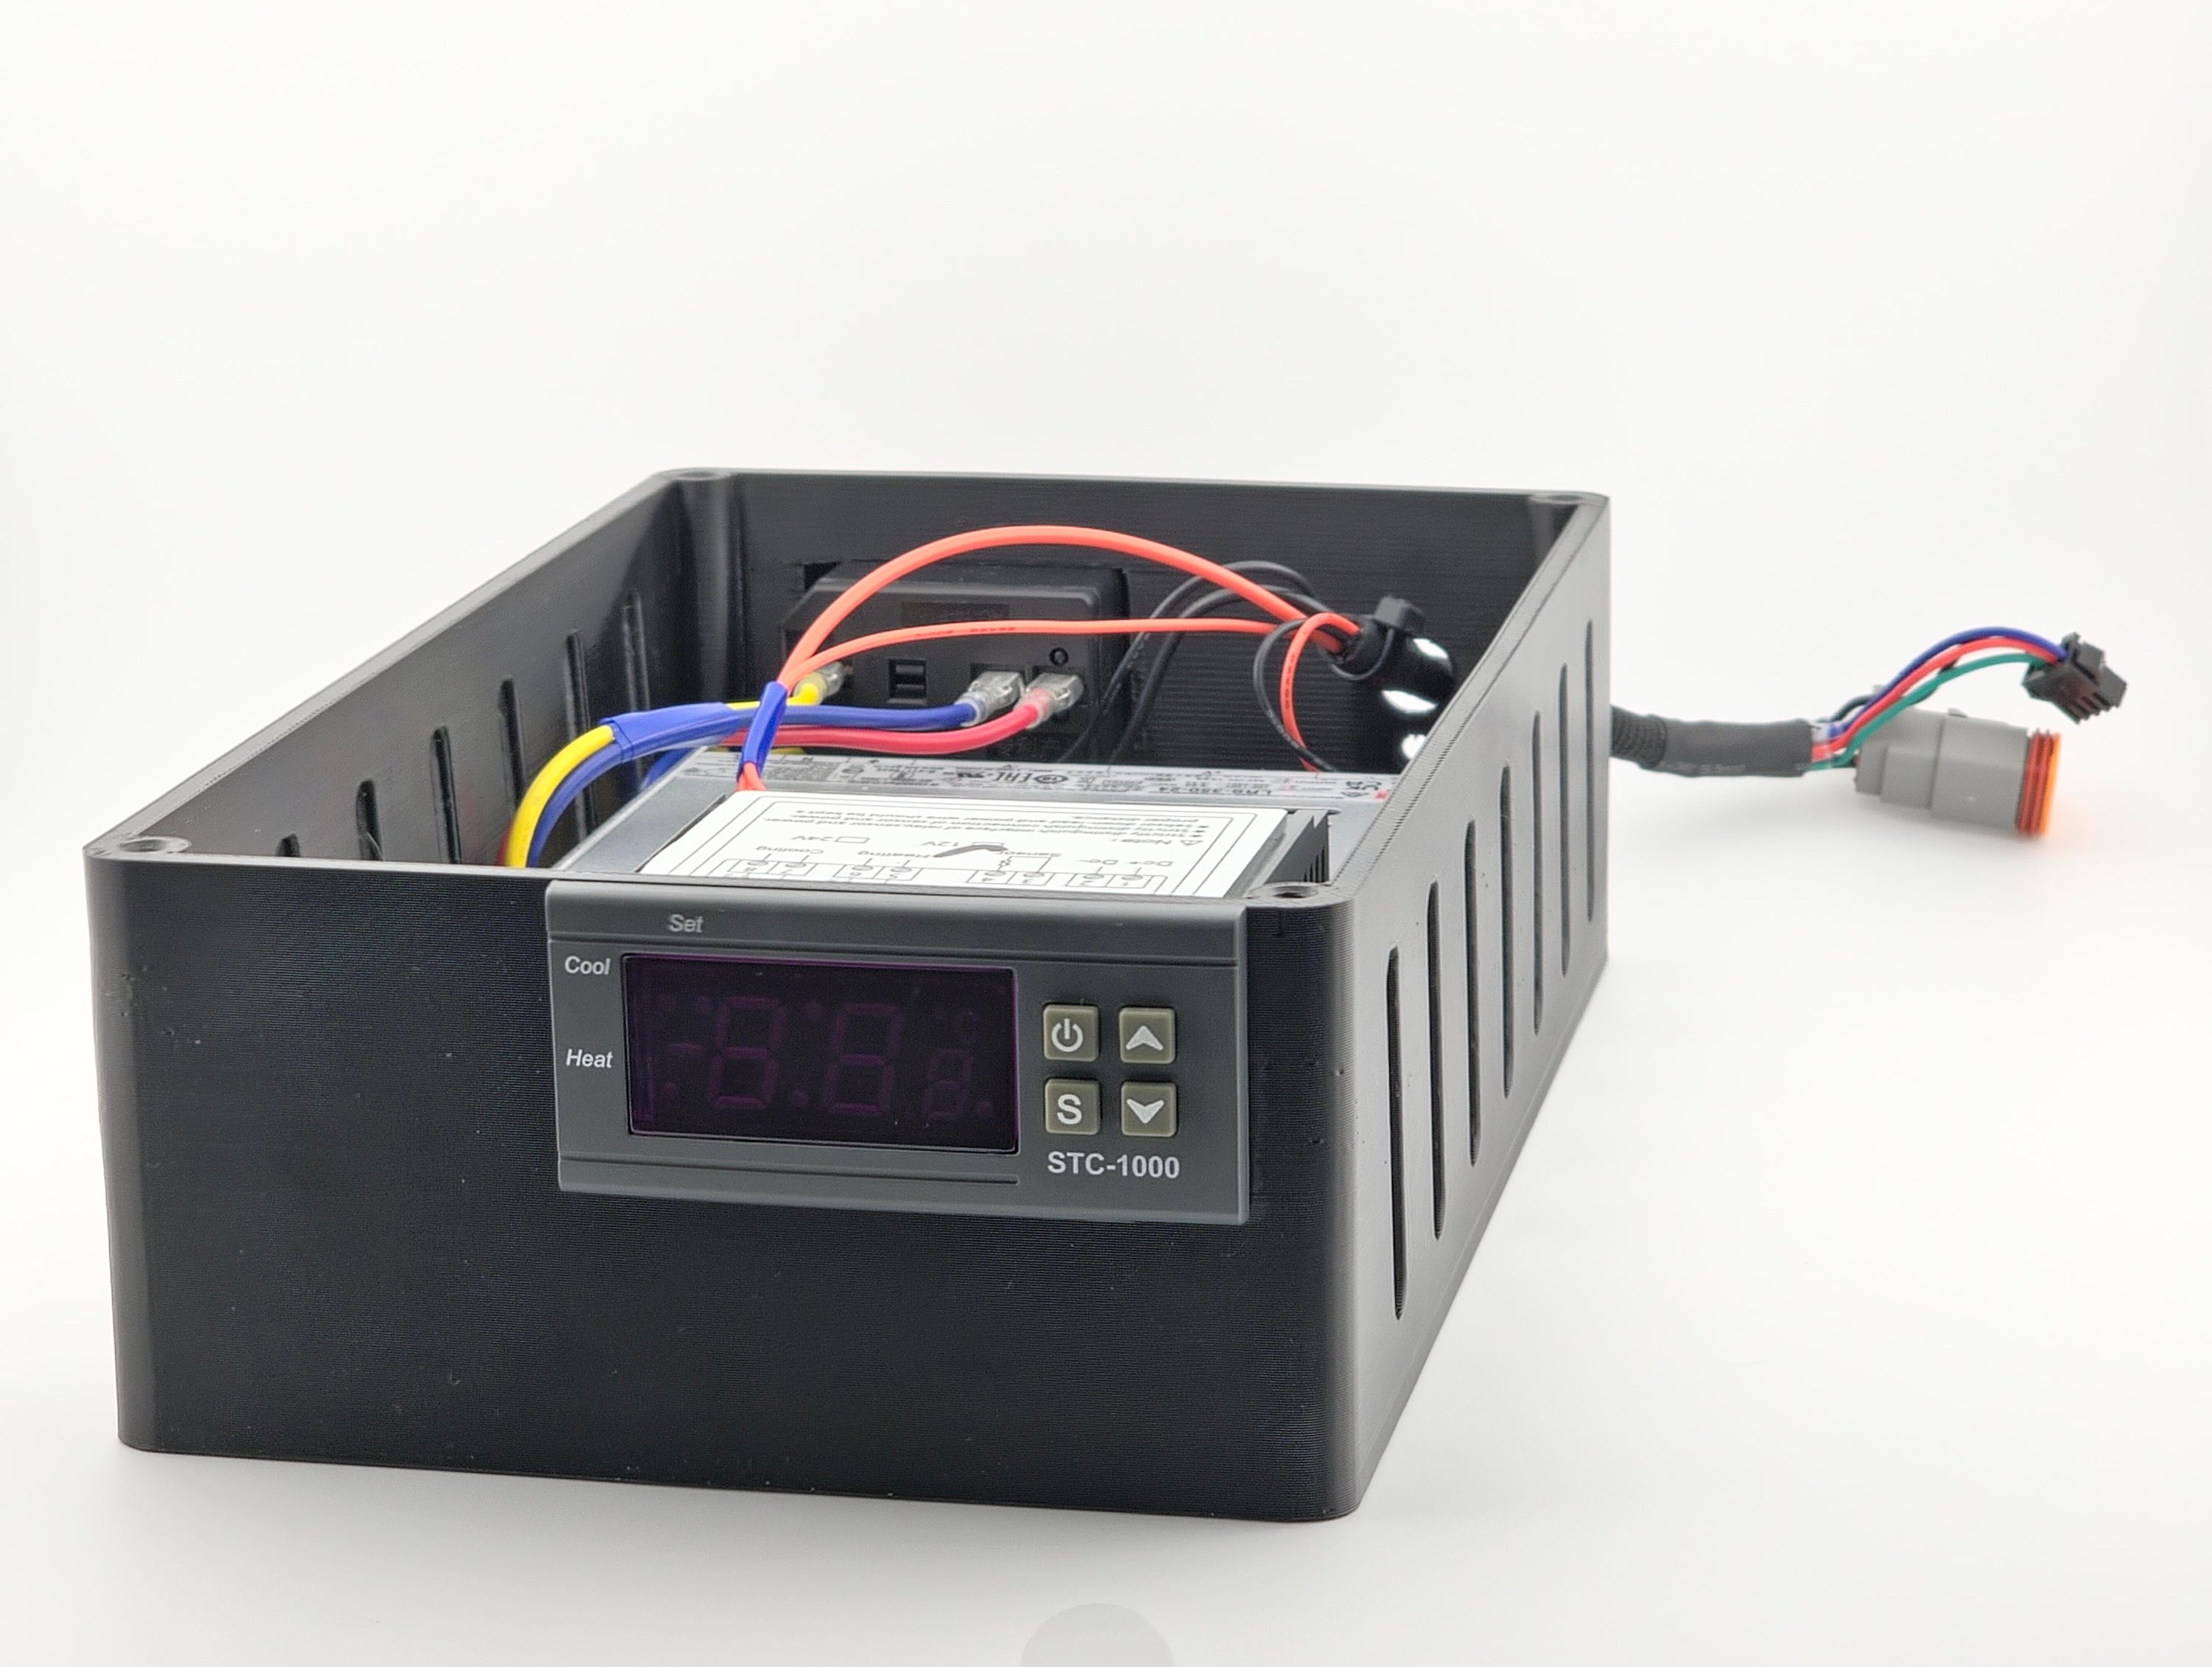
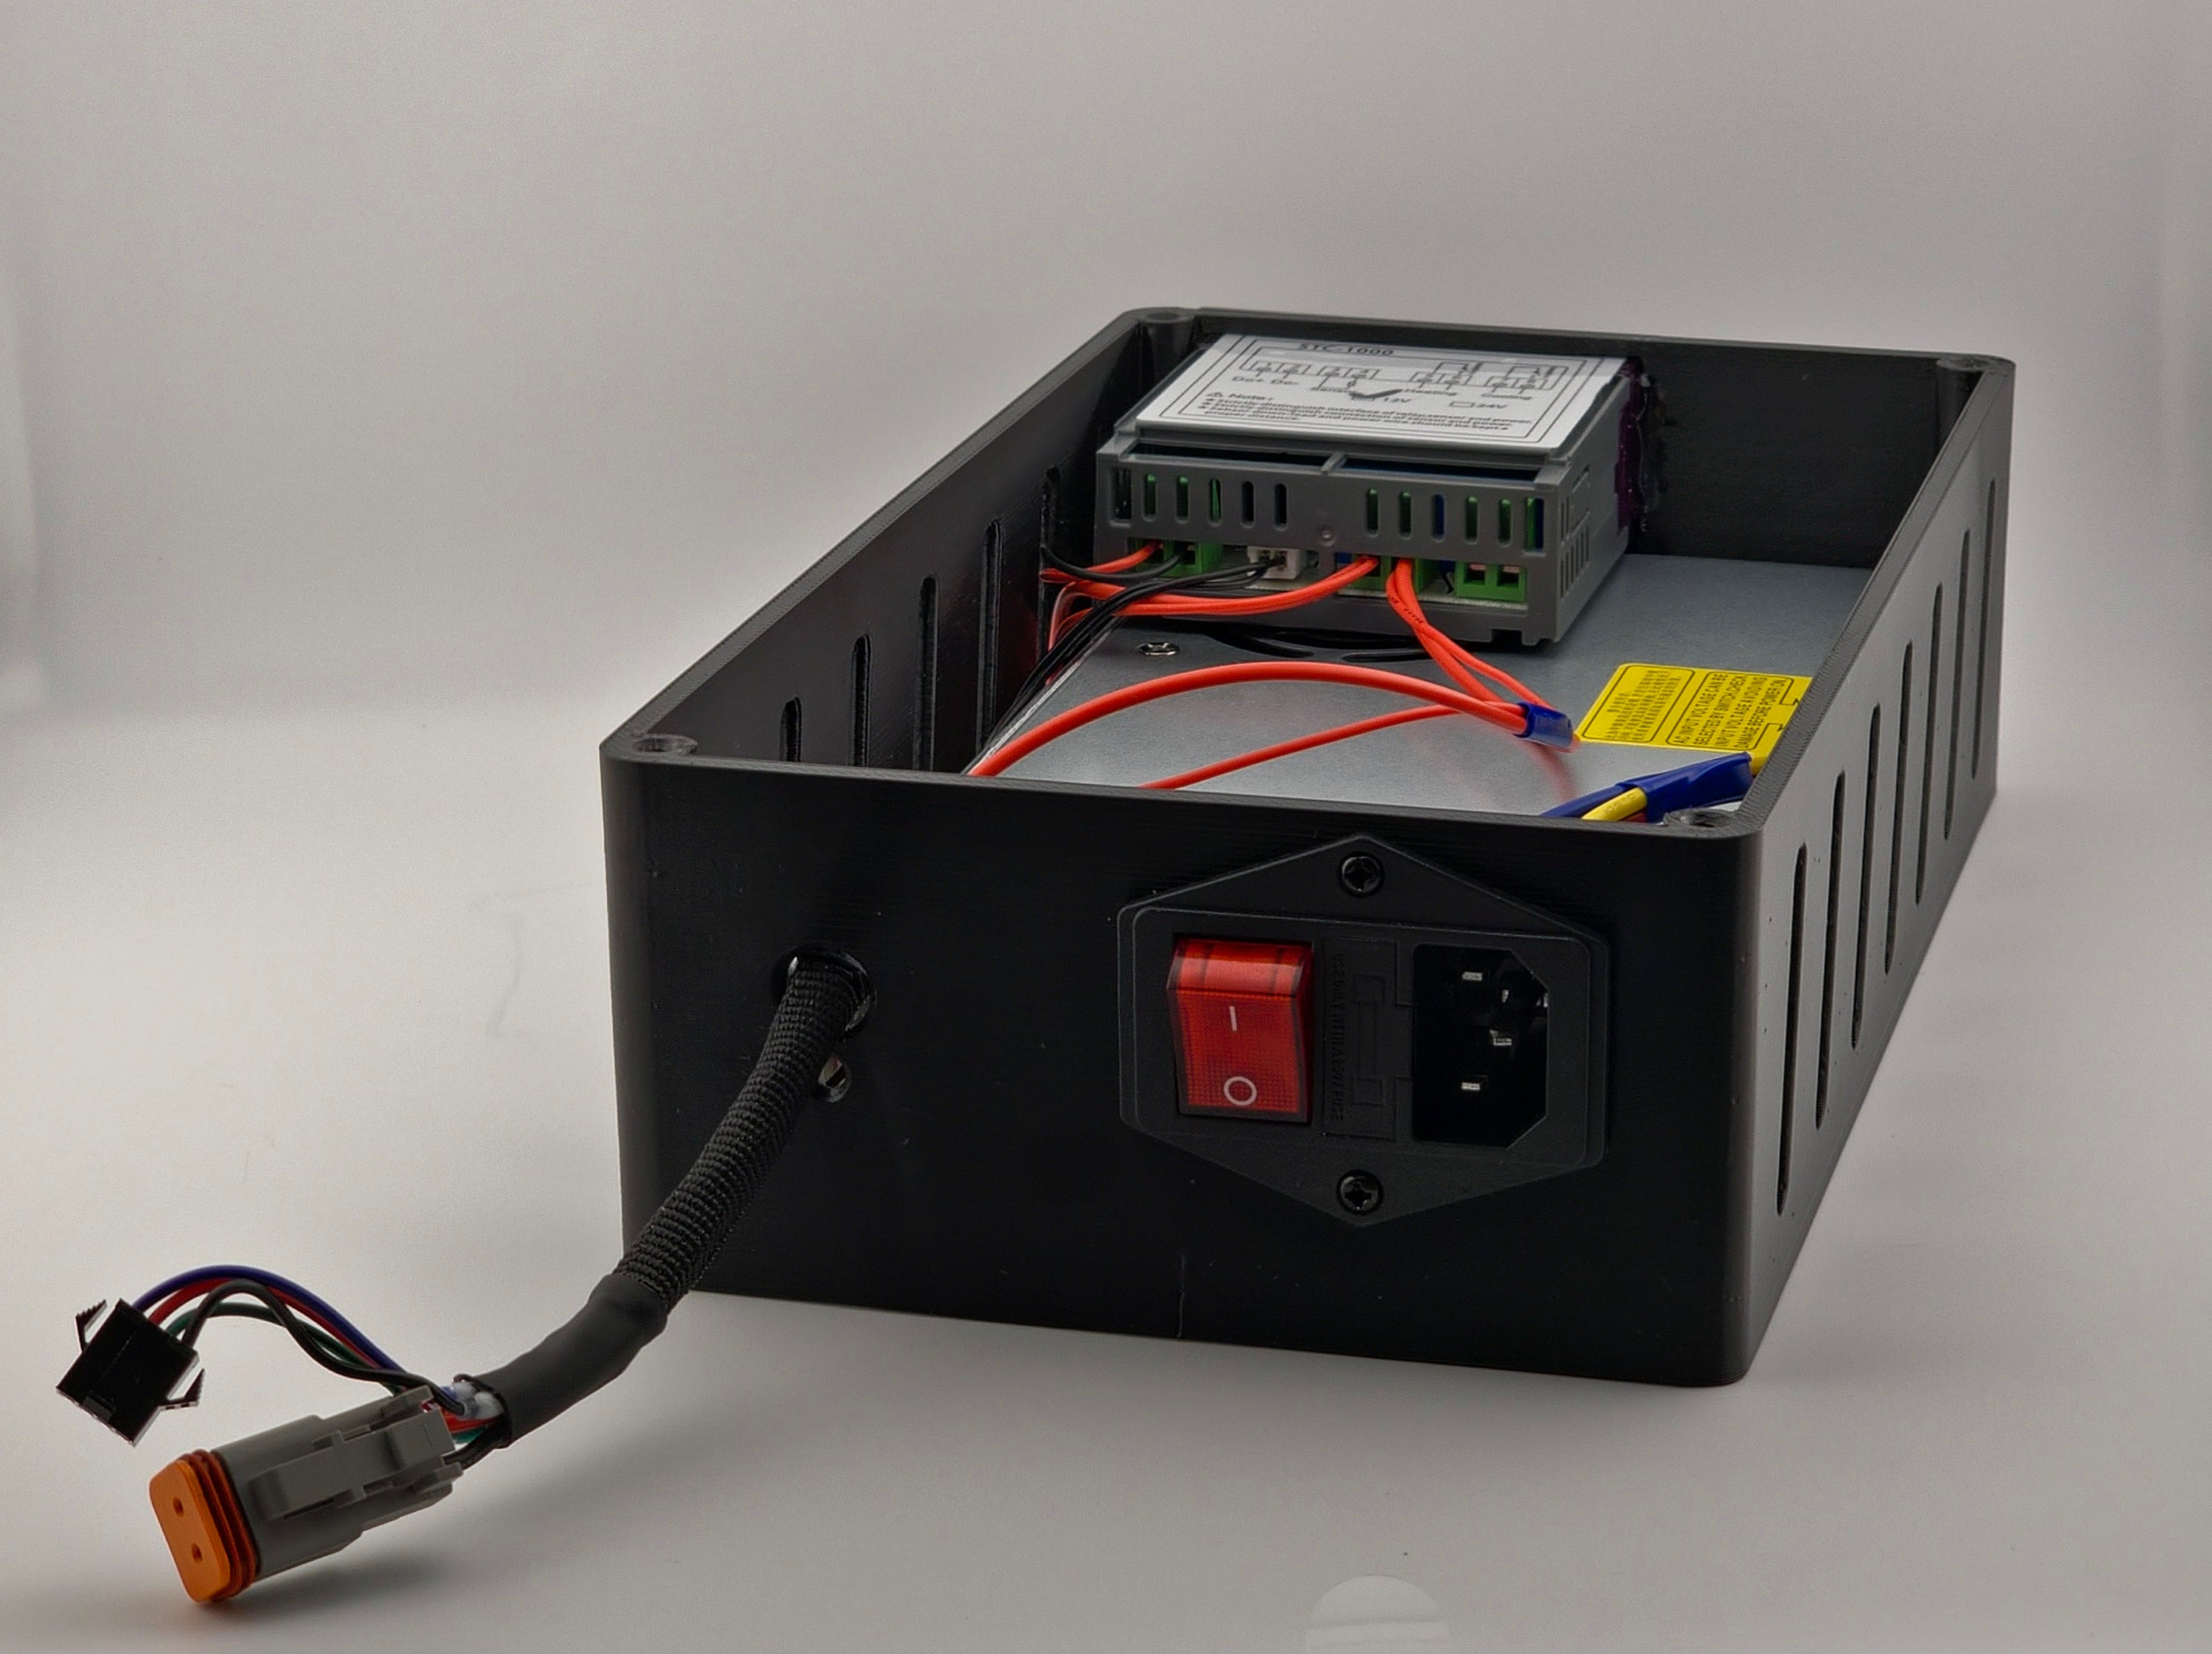
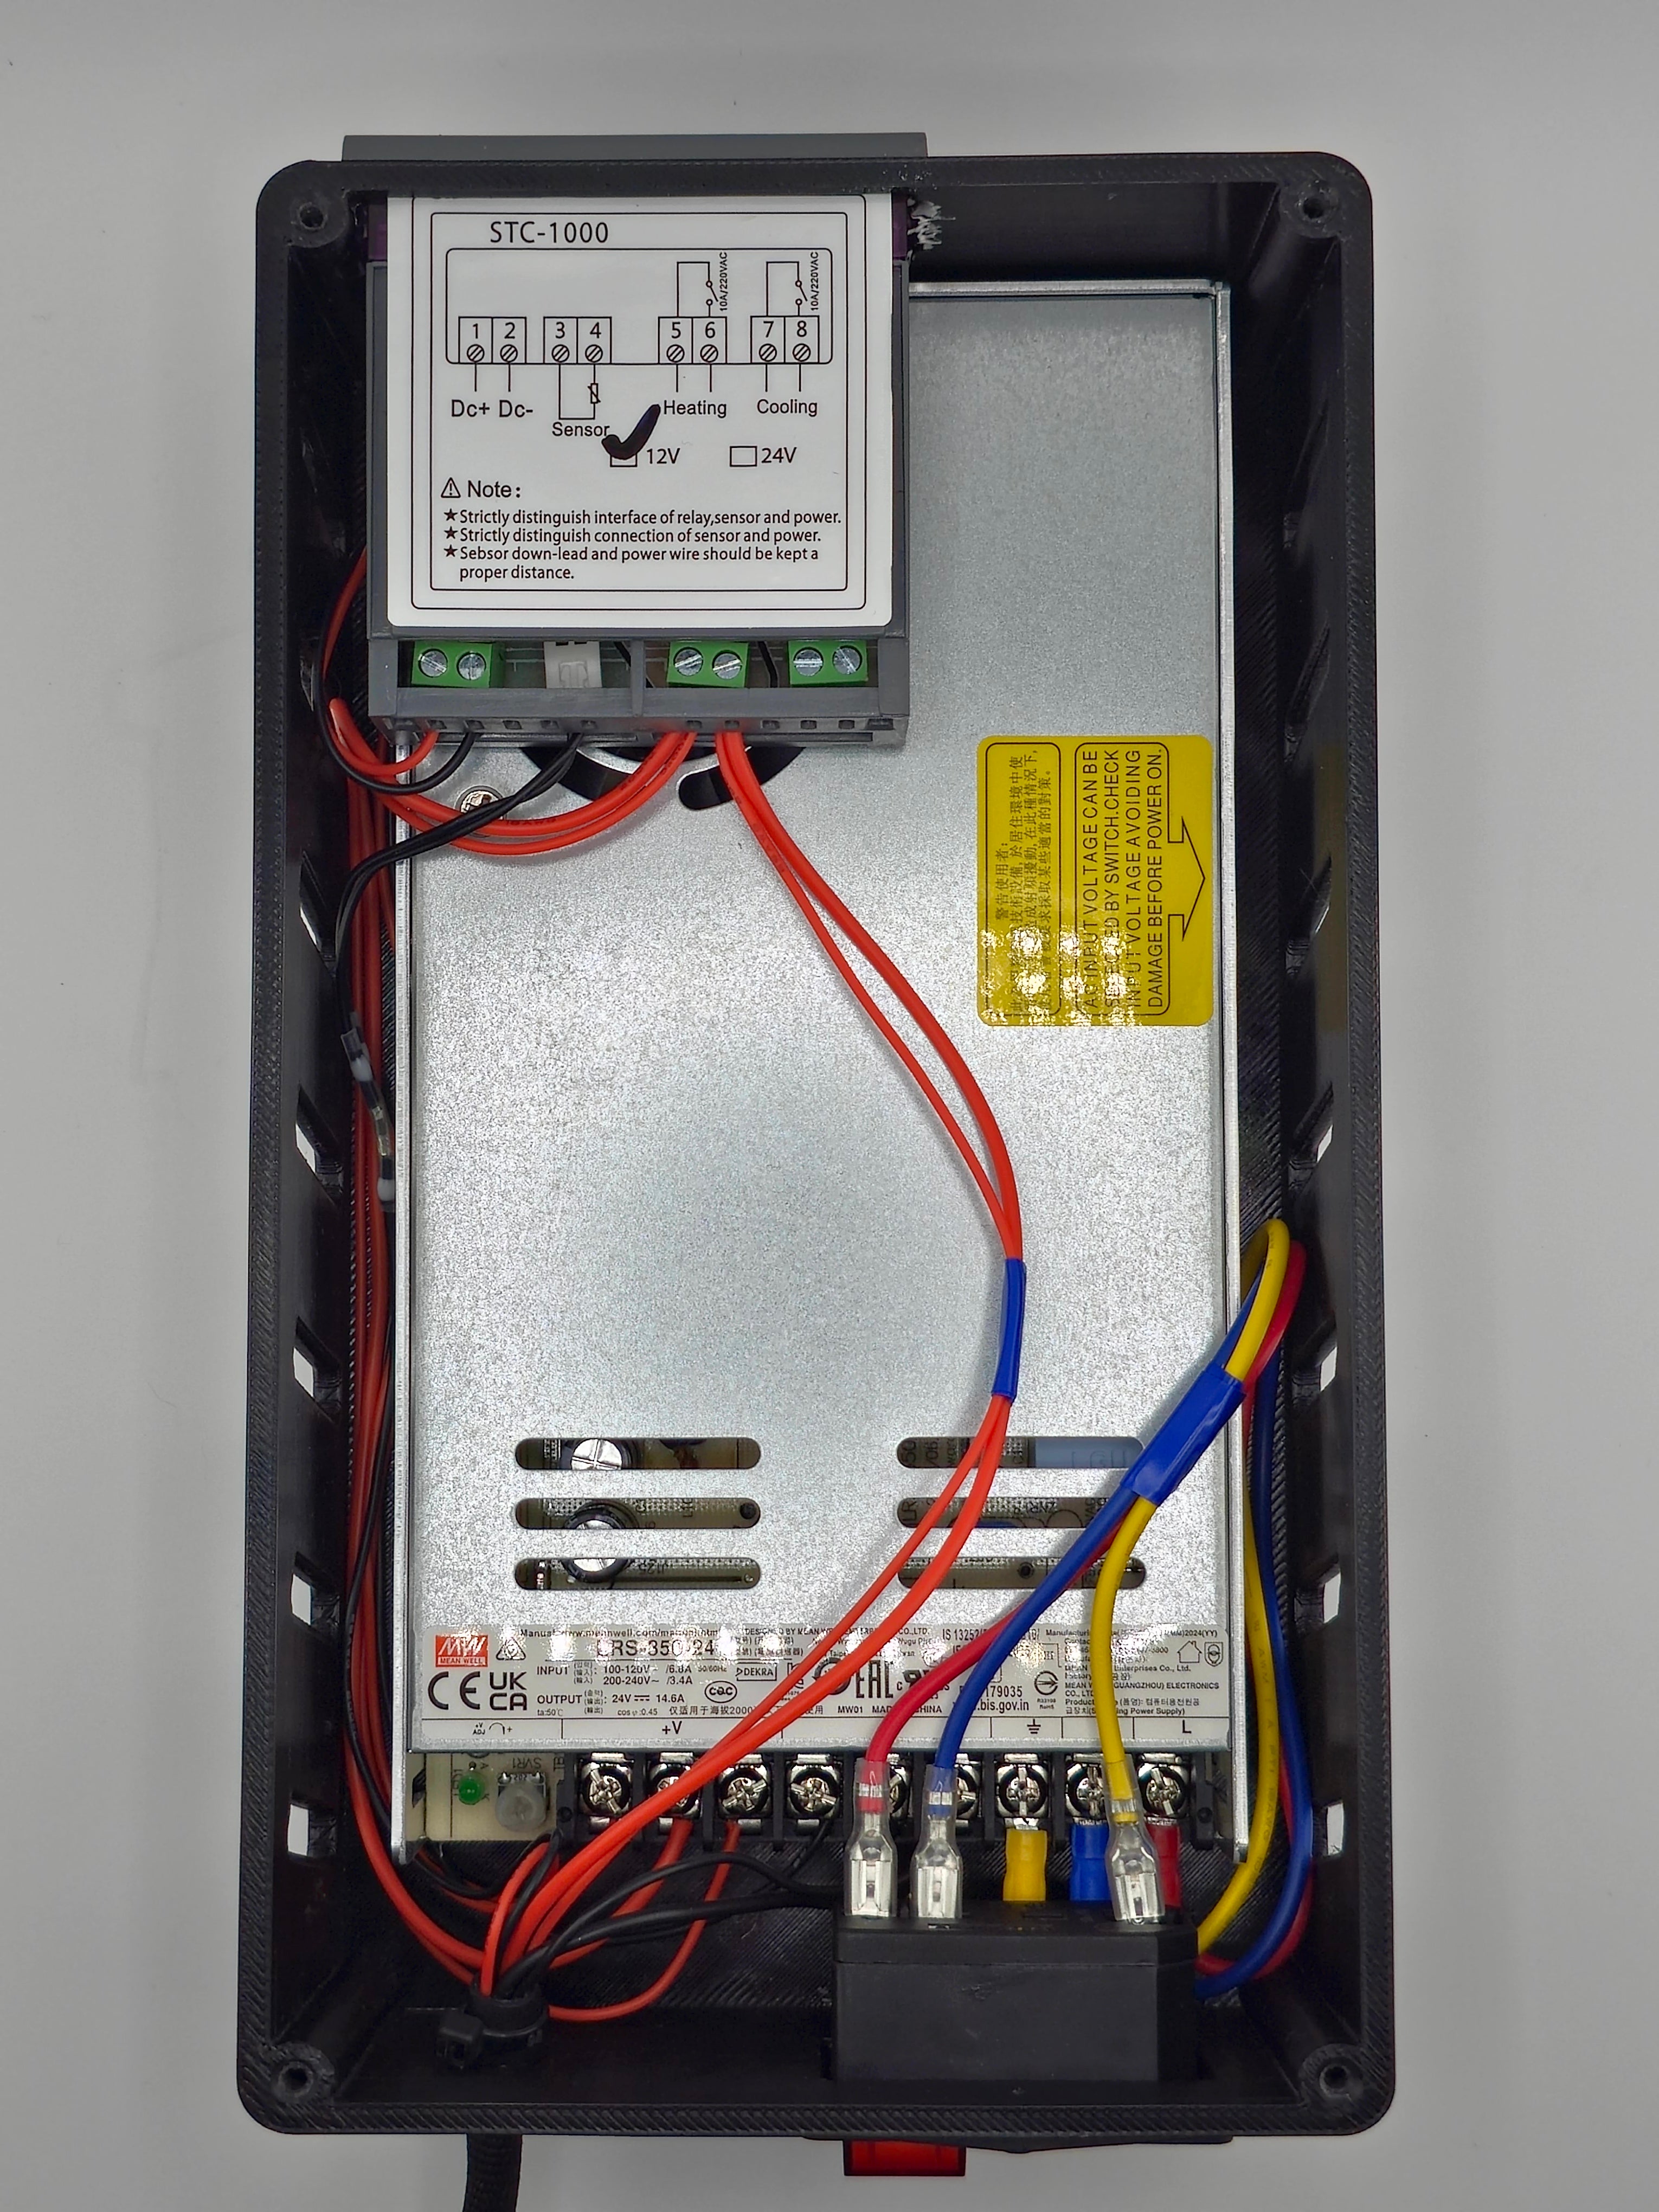
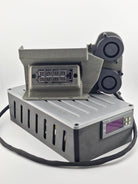
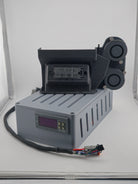
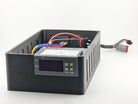
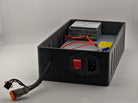
Custom made chamber heater with external PSU / temp controller box
**PLEASE READ FULL DESCRIPTION**
This is the prebuilt kit. It will come fully built and wired, ready for installation. For those of you whom are comfortable completing the wiring yourself and need the heater as soon as possible, we also offer the heater as a 'build kit' option. The build kit can be found as its own listing here on our site.
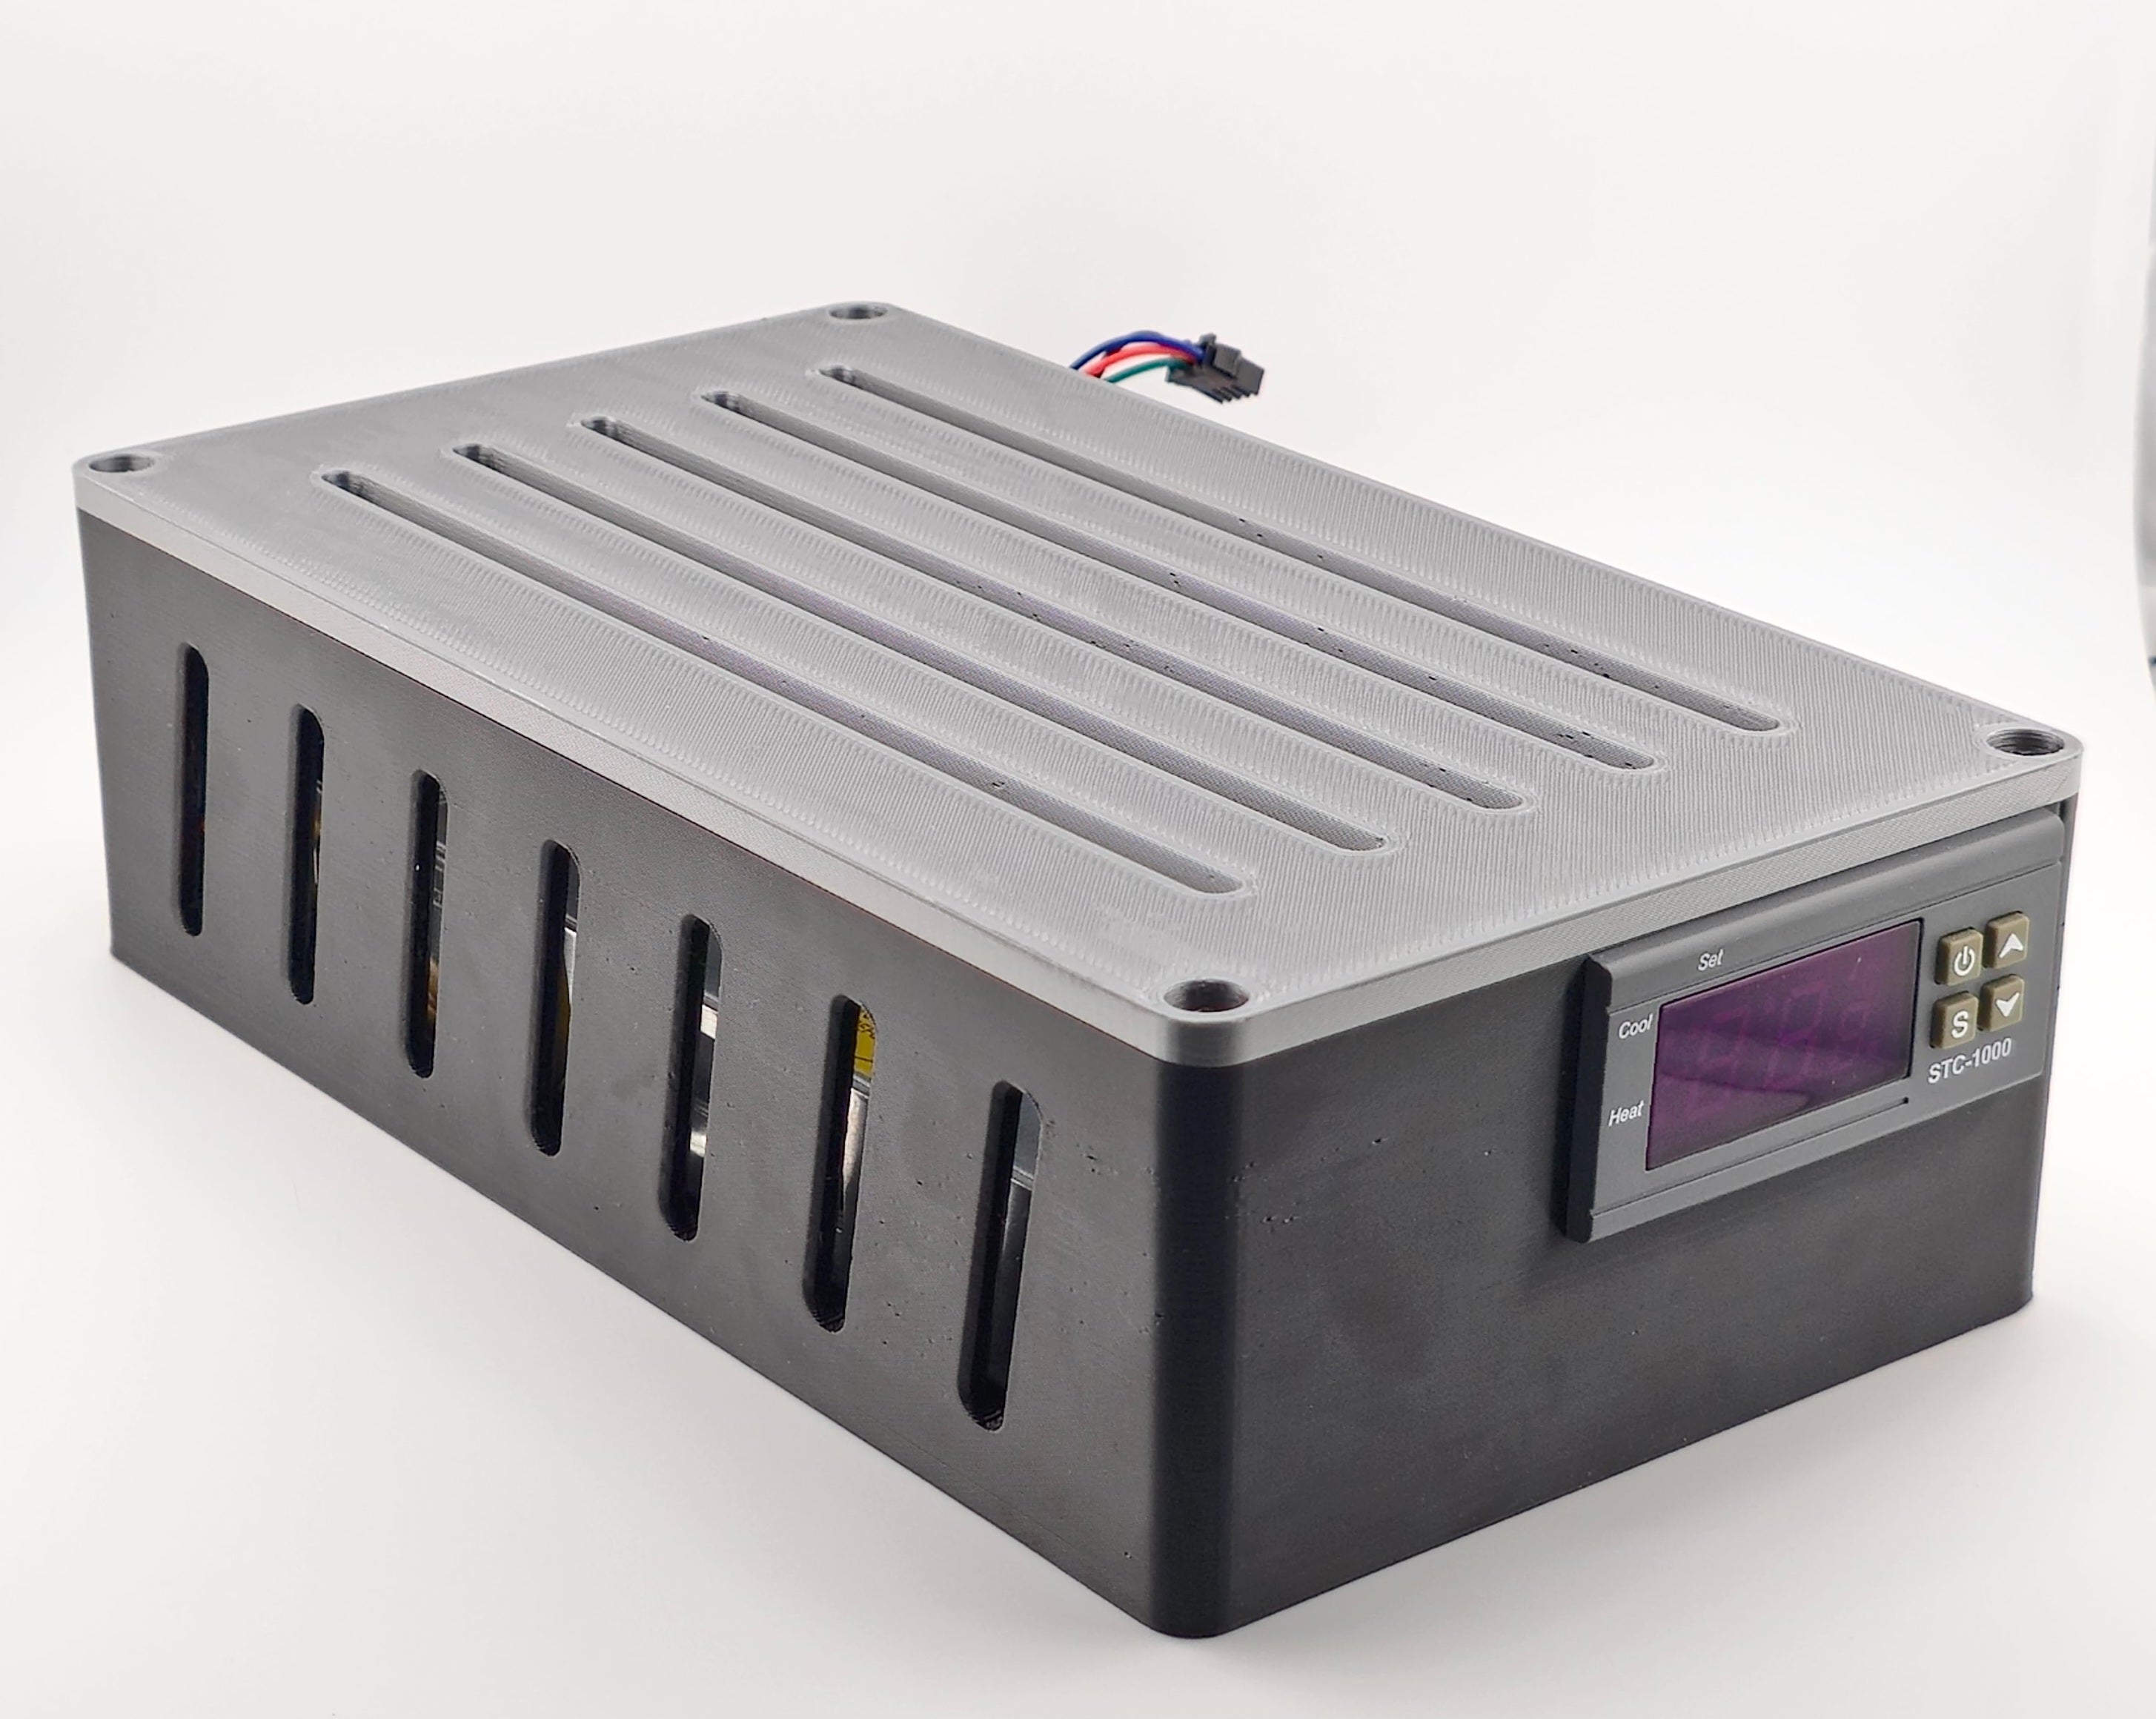
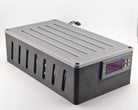
PSU Housing
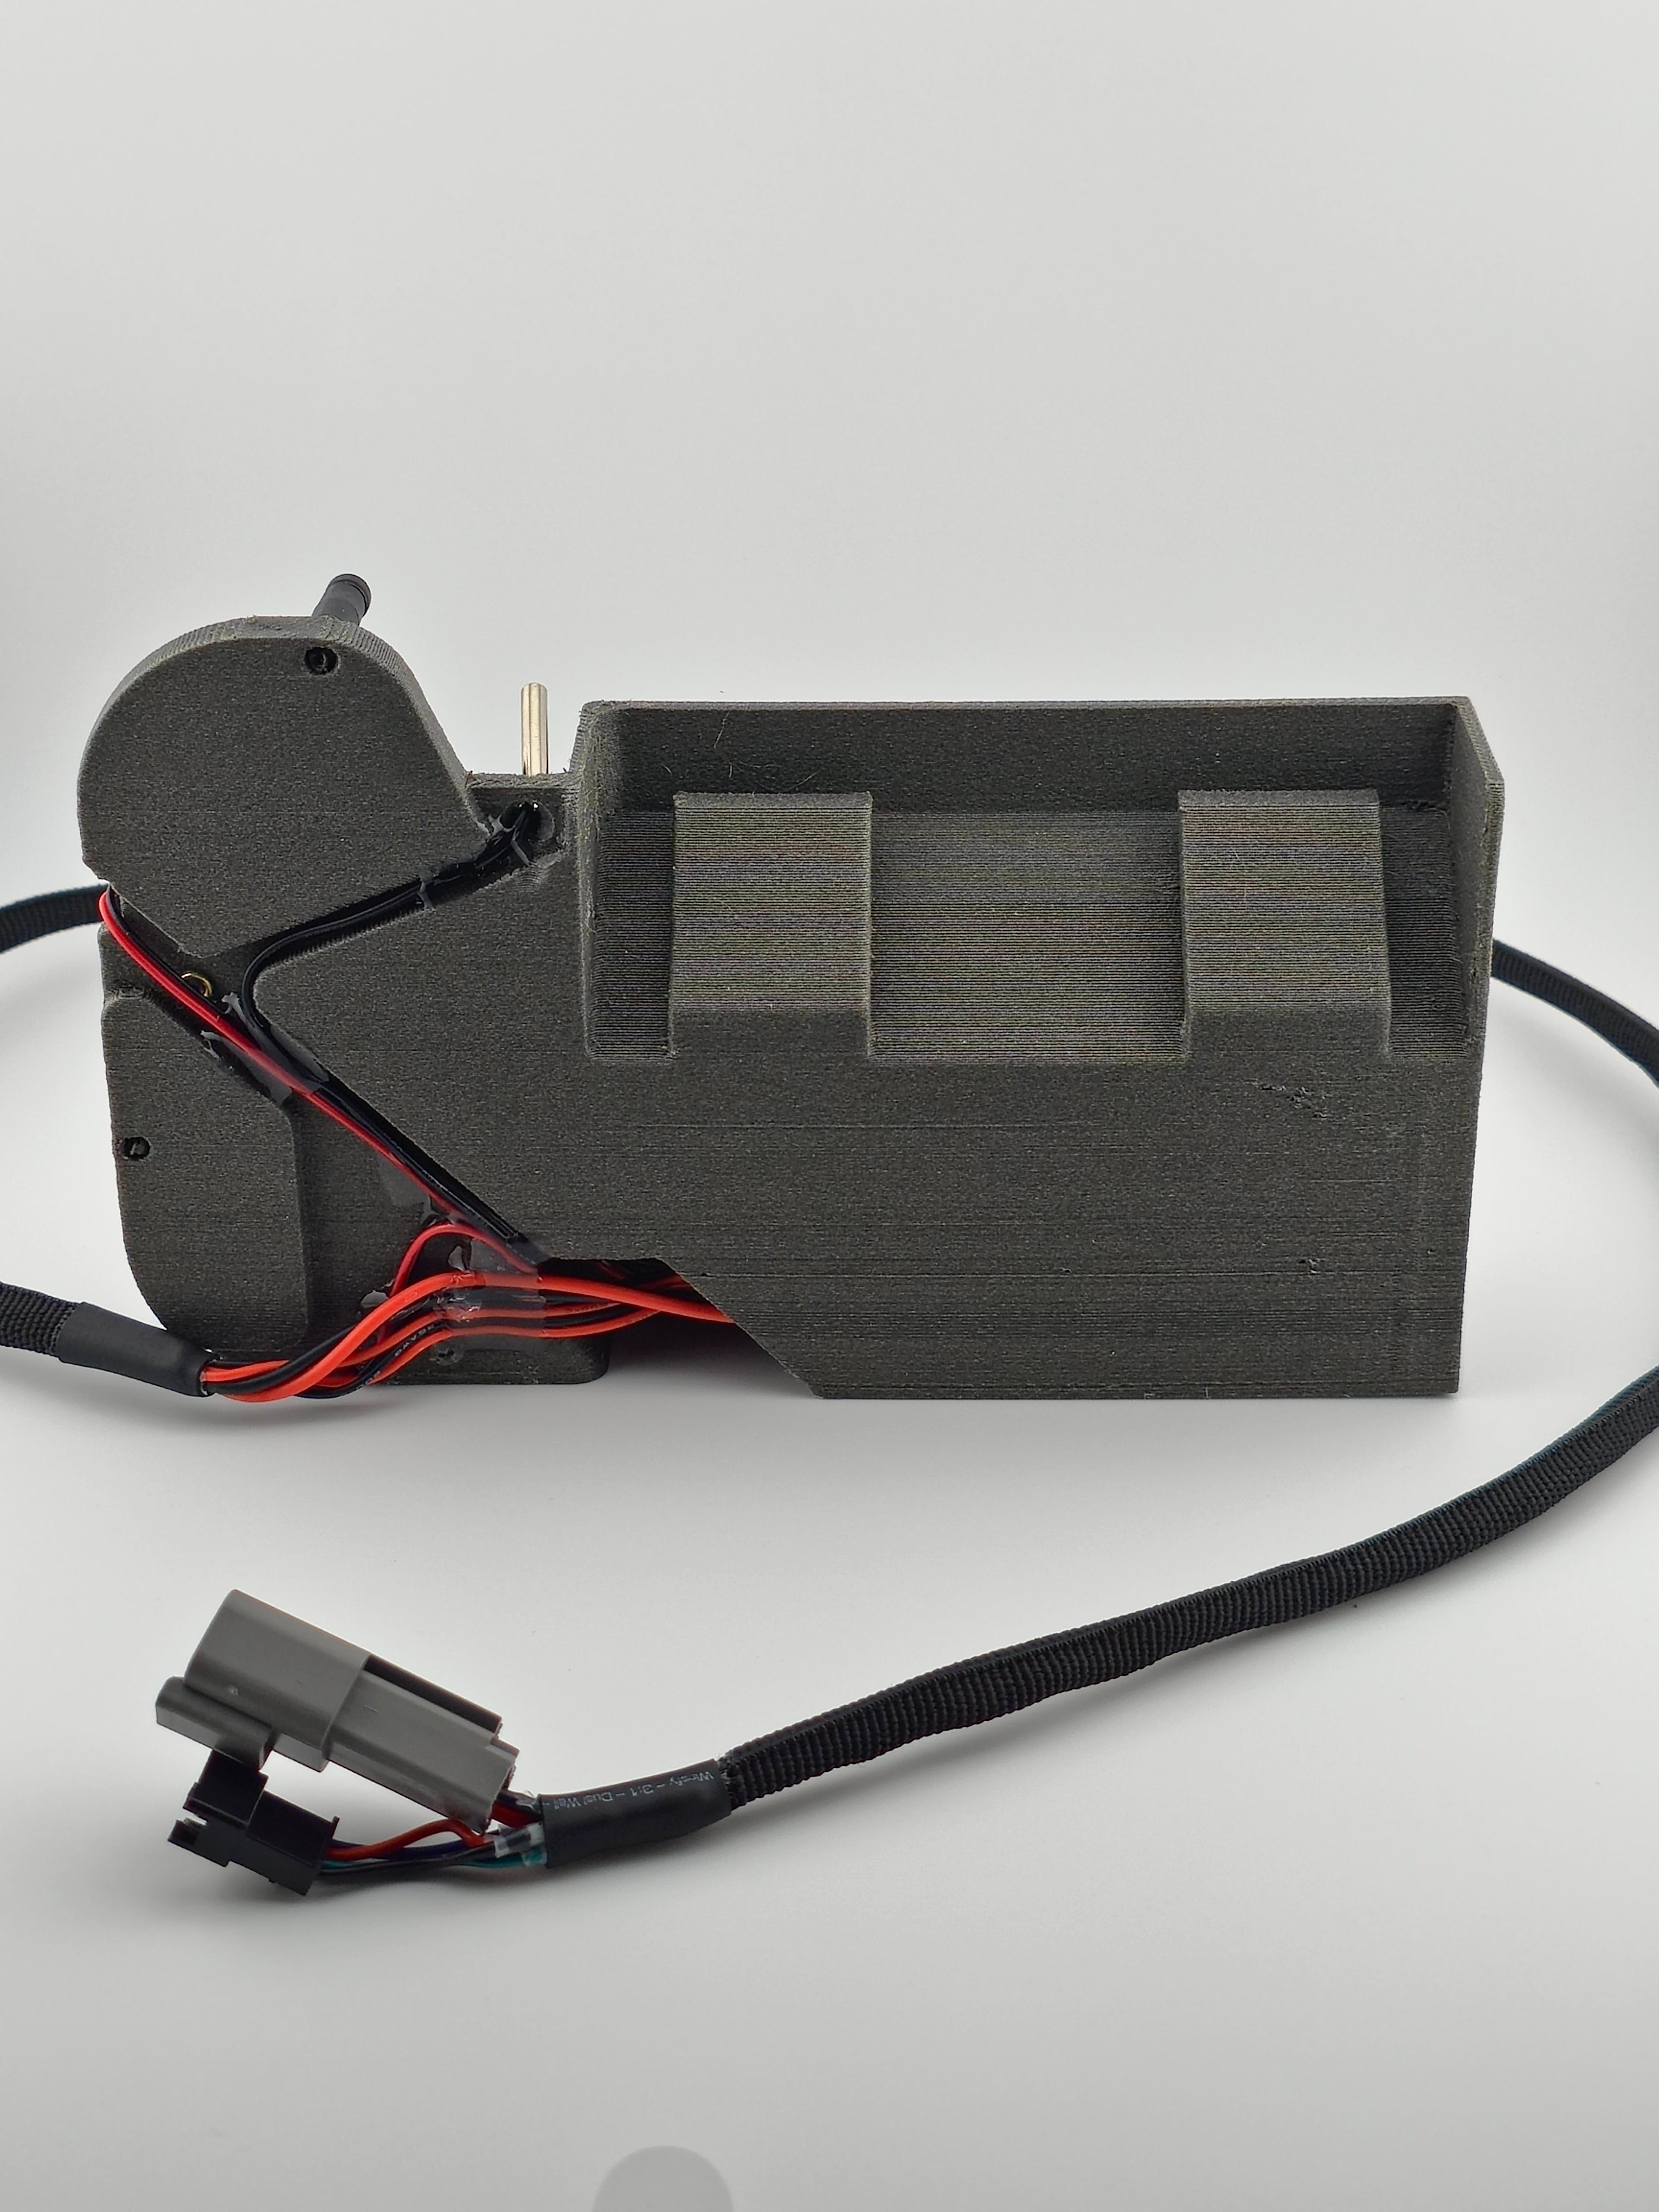
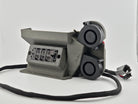
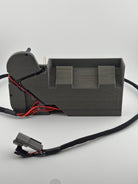
Heater unit is printed in ASA-CF and the PSU box is printed in matte PLA as standard. I have provided a selection box to for you to choose an upgraded box material. Boxes can be printed in PLA, PETG, ABS, ASA, PETG-CF, ABS-GF, ASA-GF or ASA-CF. I keep a large selection of PLA colors, but if you choose one of the upgraded materials color selection will be more limited. To reduce total variations on this listing, I have only provided the most common color options. If you're after a color not listed, please enter your first choice for color(s) as a note with your order and I will contact you after purchase if to let you know what colors are available for the material you've selected.
Components & Installation
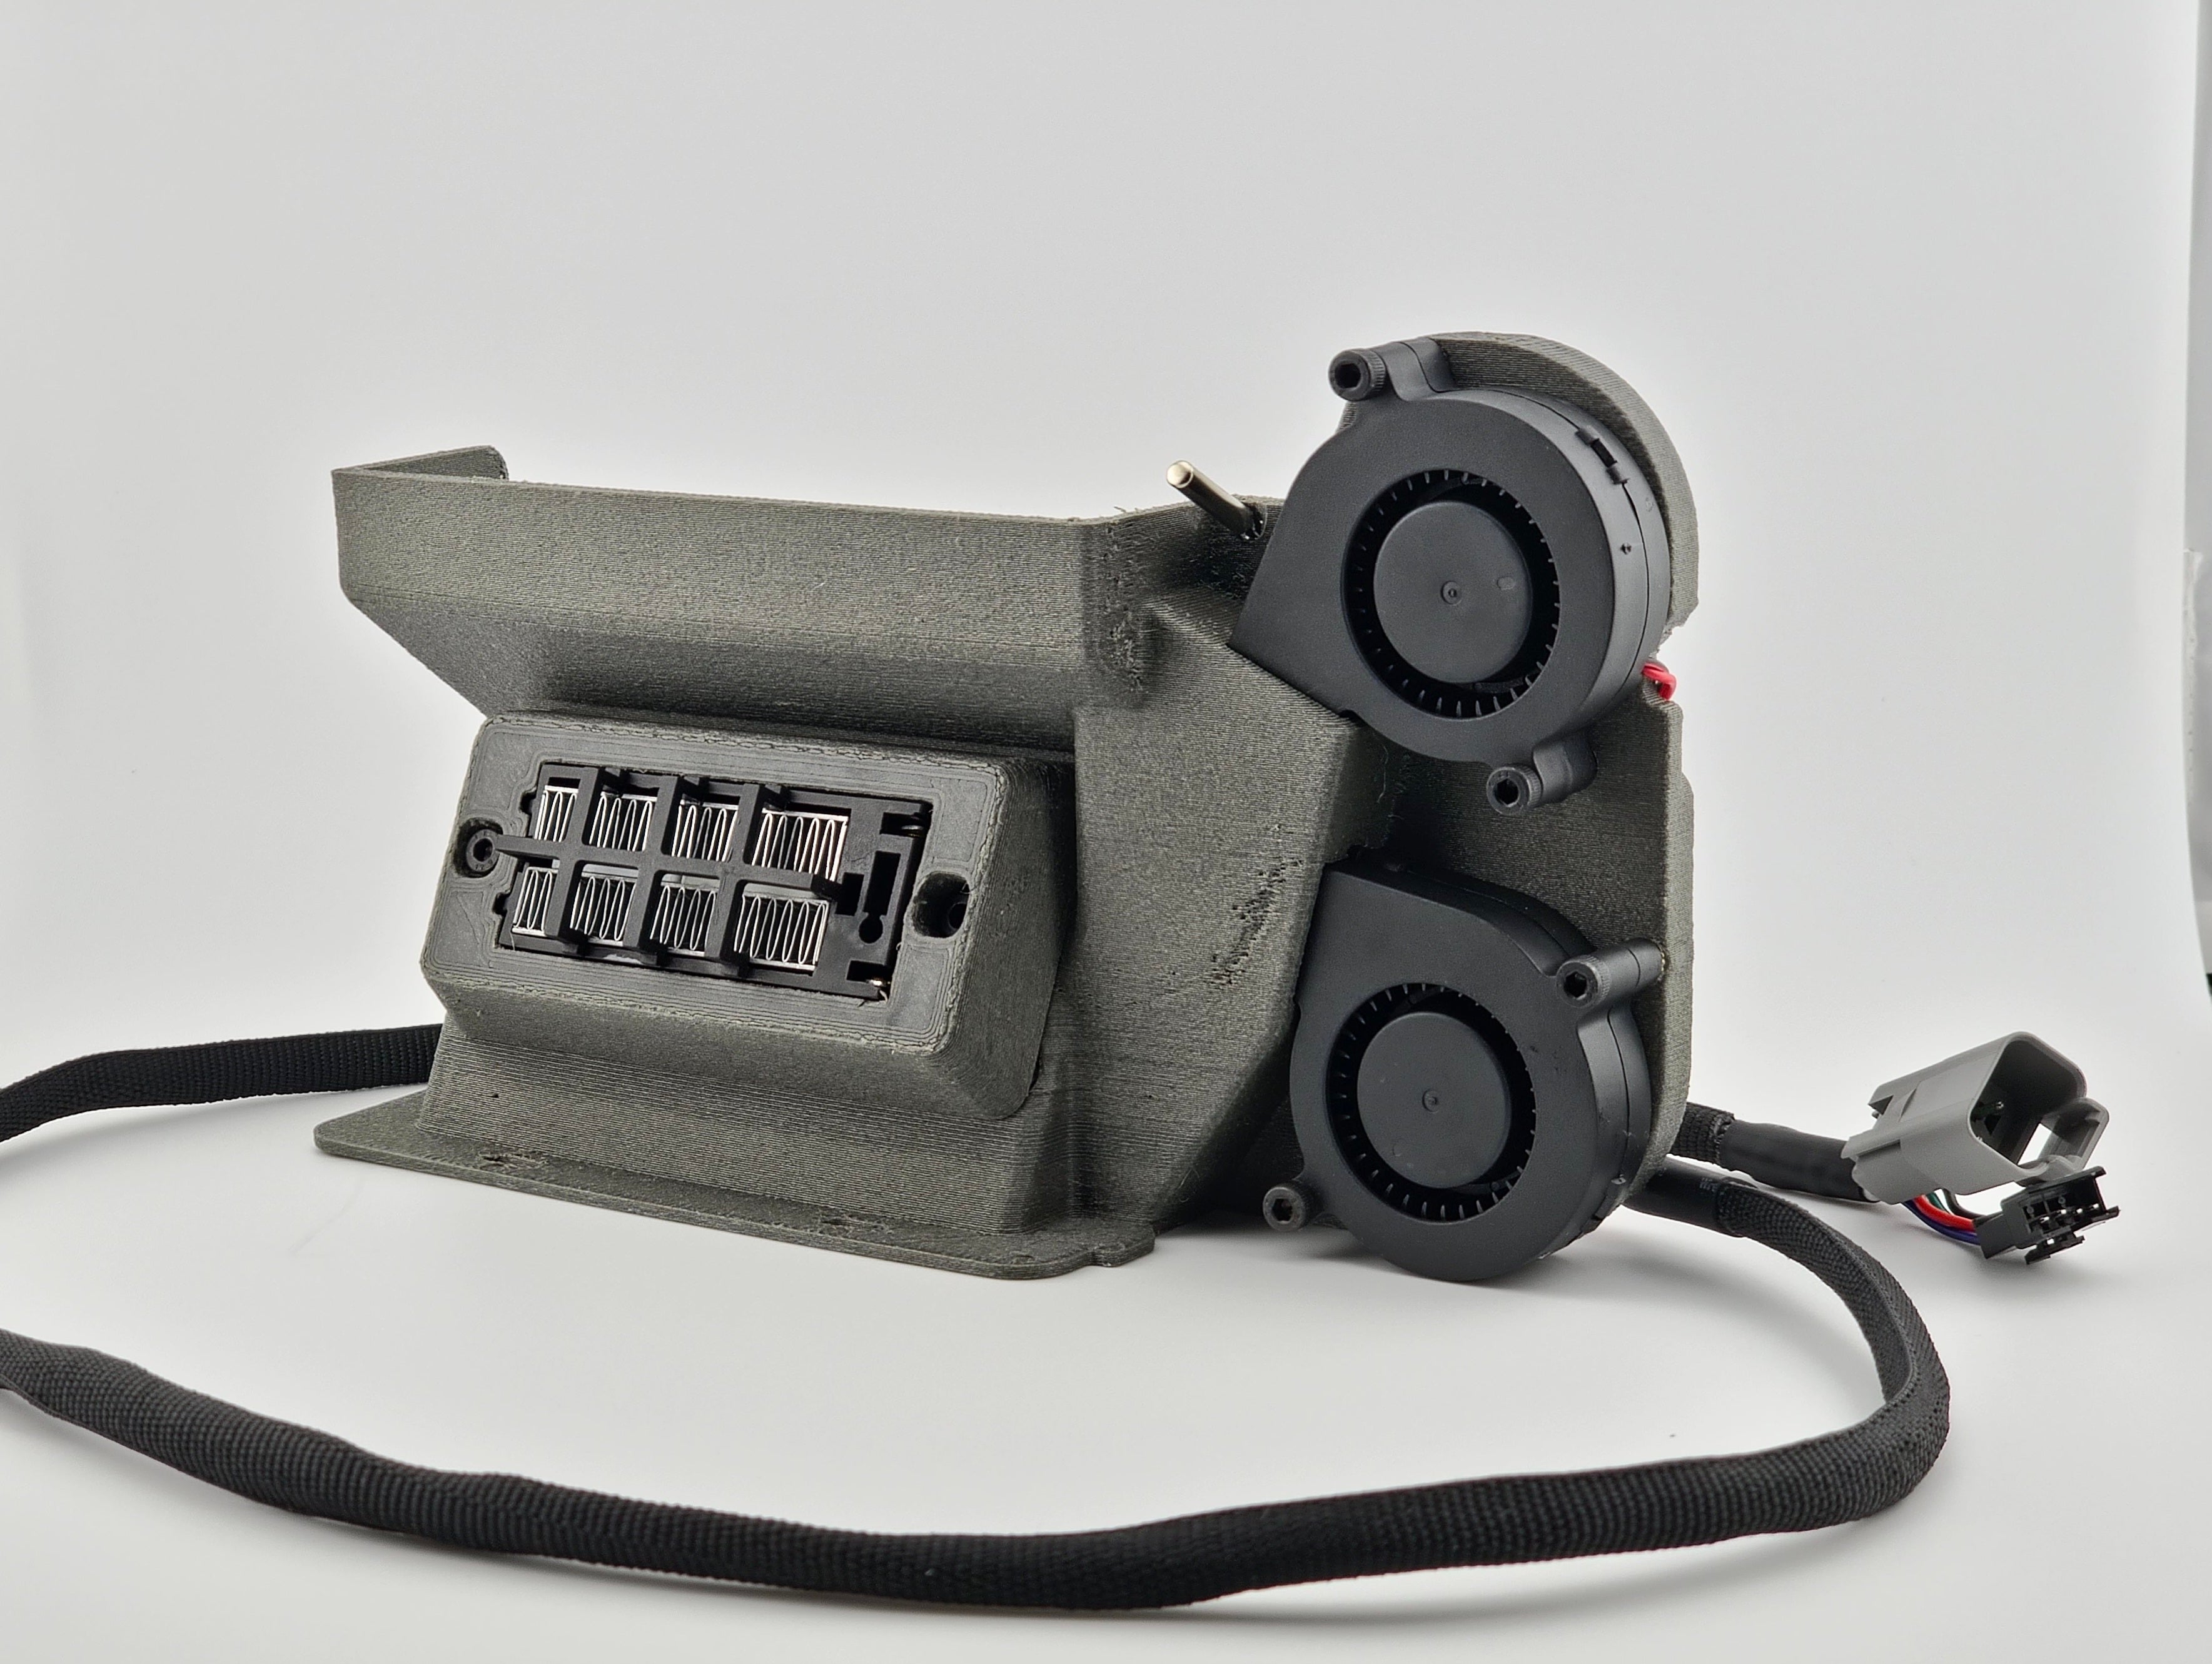
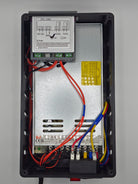
Uses a Meanwell 350w 24vdc PSU and a 200w 24v PTC heater element with 2x 50mm fans, all protected by a fused IEC power plug/switch.
Installation will involve drilling a ~1/2" hole in the floor of your housing to run the wires out of the chamber. The heater unit just snaps into place beneath the AUX fan. I recommend using a 1/8 bit for a pilot hole and then use a unibit (step bit) to get to 1/2". There is a small molded indentation near the back left of the chamber floor, this is the perfect spot to drill.
Drill your hole, run the wires from inside out, snap the heater unit into place, and plug in the connectors. Plug in your AC power to the PSU box and set your temp with the temp controller and you're ready for less warping, better bed adhesion, and better layer adhesion!
Both the fans & the heater are controlled by the temp controller automatically.
IOT / Smart Plug Remote Control
Starting a heated print that will finish while you are away from your printer? You can add an IOT outlet controller to be able to turn the heater on and off remotely via your smart home control apps (or via the plug manufacturer app). If you turn the heater on and off this way it will save the last used settings. Truly a set and forget option. Turn it on remotely to start preheating, turn it off when the print finishes so you're not wasting energy. The kit is offered with an optional IOT plug but you can always add one of your choice at any time.
Android / Alexa plug - this plug can be controlled from the manufacturer app, or it can be directly integrated into your existing Google / Alexa Smart home controls to be used with voice commands. This plug can still be controlled from Apple devices via the manufacturers app but will not integrate directly with the Apple homekit ecosystem.
Apple plug - this plug can be controlled from the manufacturers app, or it can be directly integrated with Apples homekit smart control ecosystem.
Tips / Suggestions
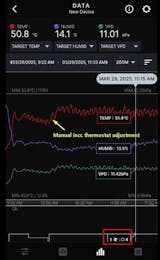
You should set the temp ~5° lower than your intended temp because heat rises to the top of the chamber and the temp probe is near the bottom in the heater unit.
I recommend not going above 55-60° C. Since the BL printers were not designed with a high temp heated chamber in mind, limiting your temp to ~55-60° leaves enough headroom to protect your stepper motors, bearings, belts and other electronics inside the chamber.
Turning the heated bed on along with the chamber heater will further reduce heating times but the 200w heater element puts off a lot of heat. 55-60° C chamber temp is more than sufficient to see benefits and increase the bed and layer adhesion of all materials while reducing warping. It is still good practice to use a brim where possible. We also highly recommend Holden Enterprises G10 / G11 build plates - you can find them on Etsy.
When your print finishes turn the heater off and let the chamber cool naturally without opening the door. Minimizing and slowing the temperature gradient is the goal with a chamber heater, so it's important to let it cool on its own before you open the door to remove the print.
Disclaimer / Shipping
I am happy to answer any questions or assist with getting it set up, however you are responsible for the final installation and you use this at your own risk. I take great pride in my work and would never sell anything I thought was unsafe but I take no liability for incorrect use or installation, or any issues that arise from use of this product.
Shipping: Ships from Perkasie PA, please allow 1-6 weeks for production and shipping.
Thanks for visiting my shop!

